Taking a screenshot on Mac computers is relatively easy, but some find it hard. This applies mainly to the users who come from the Windows environment. Sometimes people get confused with the key combination to take the screenshot. Here are comprehensive methods that assist you to take a screenshot on Mac that work on both new and old Mac computers.
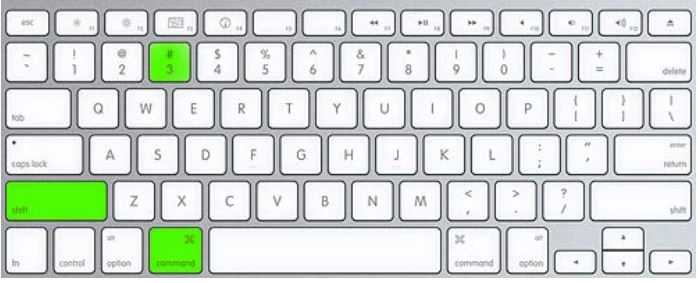
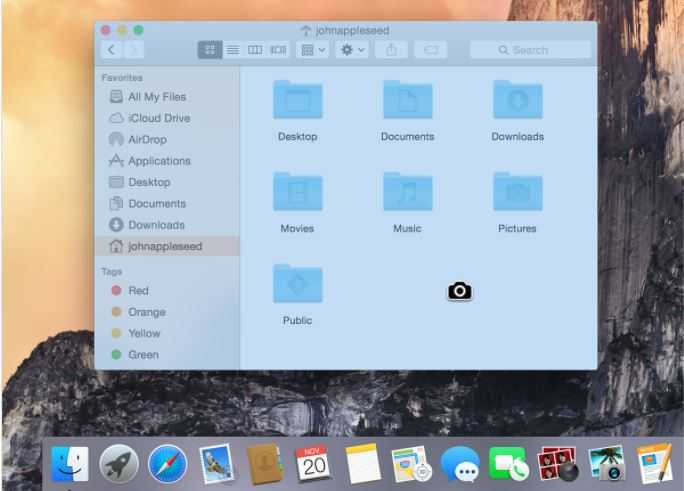
- First, if you want to capture a full-screen screenshot on Mac, press and hold Shift + command + 3 key together. Now you will hear the click sound on the computer, and the screenshot will be saved on the desktop by default.
- Now, if you want to capture a screenshot of the selected reason on the Mac, then you will need to press and hold Shift + Command + 4 keys at once. The key combination will generate a crosshair on the screen, and you will be able to select a required region on the screen. You will then hear a click sound that tells you that the screen is captured and saved on the desktop by default.
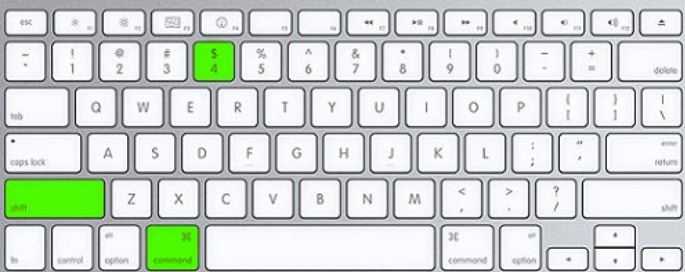
- The third type of the screenshot method allows you to capture the section of the application window. For this, press and hold Shift + Command + 4 key at once and then again press Space key immediately. This enables a camera crosshair on the screen. Now, you can click on the required application window to capture its entire screen.
- If you are using Mac OS Mojave, then you can get the screen capture tool on your desktop while pressing the Shift + Command + 5 key together. This brings the capture tool, and then you can play around with it to capture the whole screen, the selected screen, or the selected application window. You can browse for the location to save the screenshot taken using the tool.

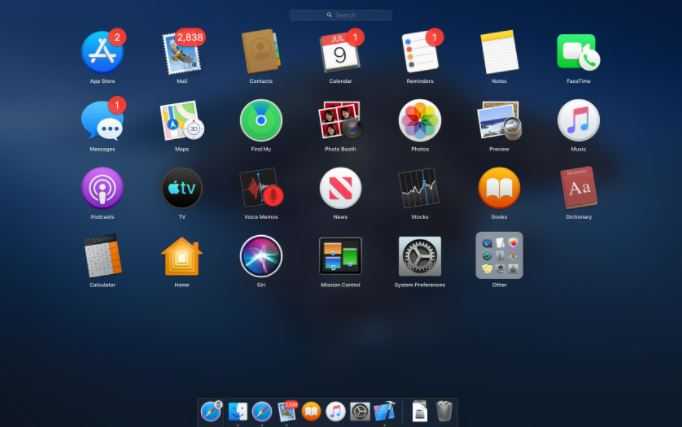
- If you are the one who forgets the key combination to capture the screenshot, you can simply use the Preview application. Open the Preview from the Launchpad and hit the “cancel” button. Now, don’t click anywhere on the desktop but onto the file menu. From the drop-down menu, click on “Take screenshot” and select the type you’d want. The tool works perfectly like the key combination to capture the entire screen or the selected area.
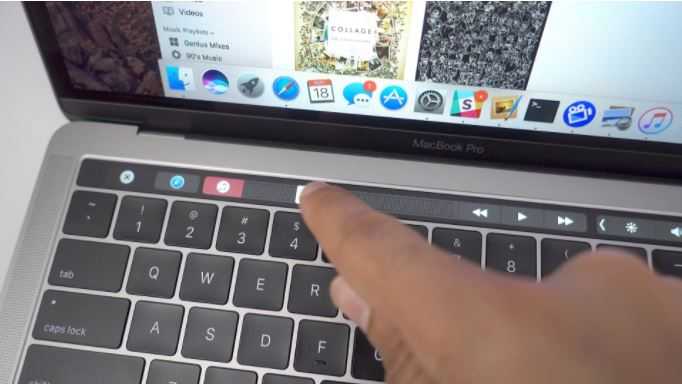
- If you have a Touchbar screen on your MacBook, then it’s even simpler to take screenshots. Expand the Touch Bar on your MacBook and tap on the camera icon. This enables the screenshot tool on the screen and the Touchbar, just like the previous method.
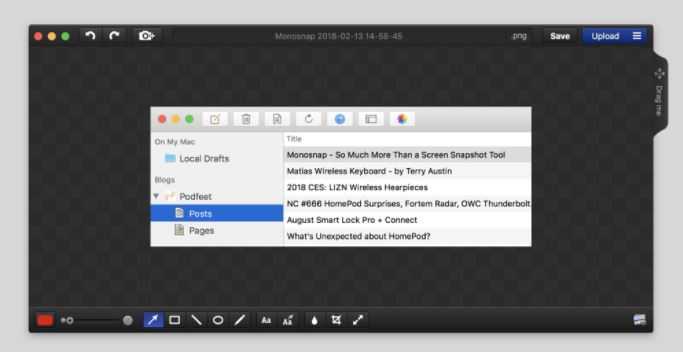
- macOS has a pretty impressive collection of screenshot methods; however, some of you might be interested in finding the third-party tool to do so. Monosnap is a powerful screenshot tool built for macOS. It’s slim and easy to use the tool. With Monosnap, break the area, take a screenshot of the entire screen and even perform annotations along the way. You even have an option to choose the file format to export it to either jpeg or png.